Guide for Cloud server and the RStudio IDE
Course Cloud Server Logon
Go to the R for Bio Data Science Cloud Server and follow the login procedure.
The RStudio IDE
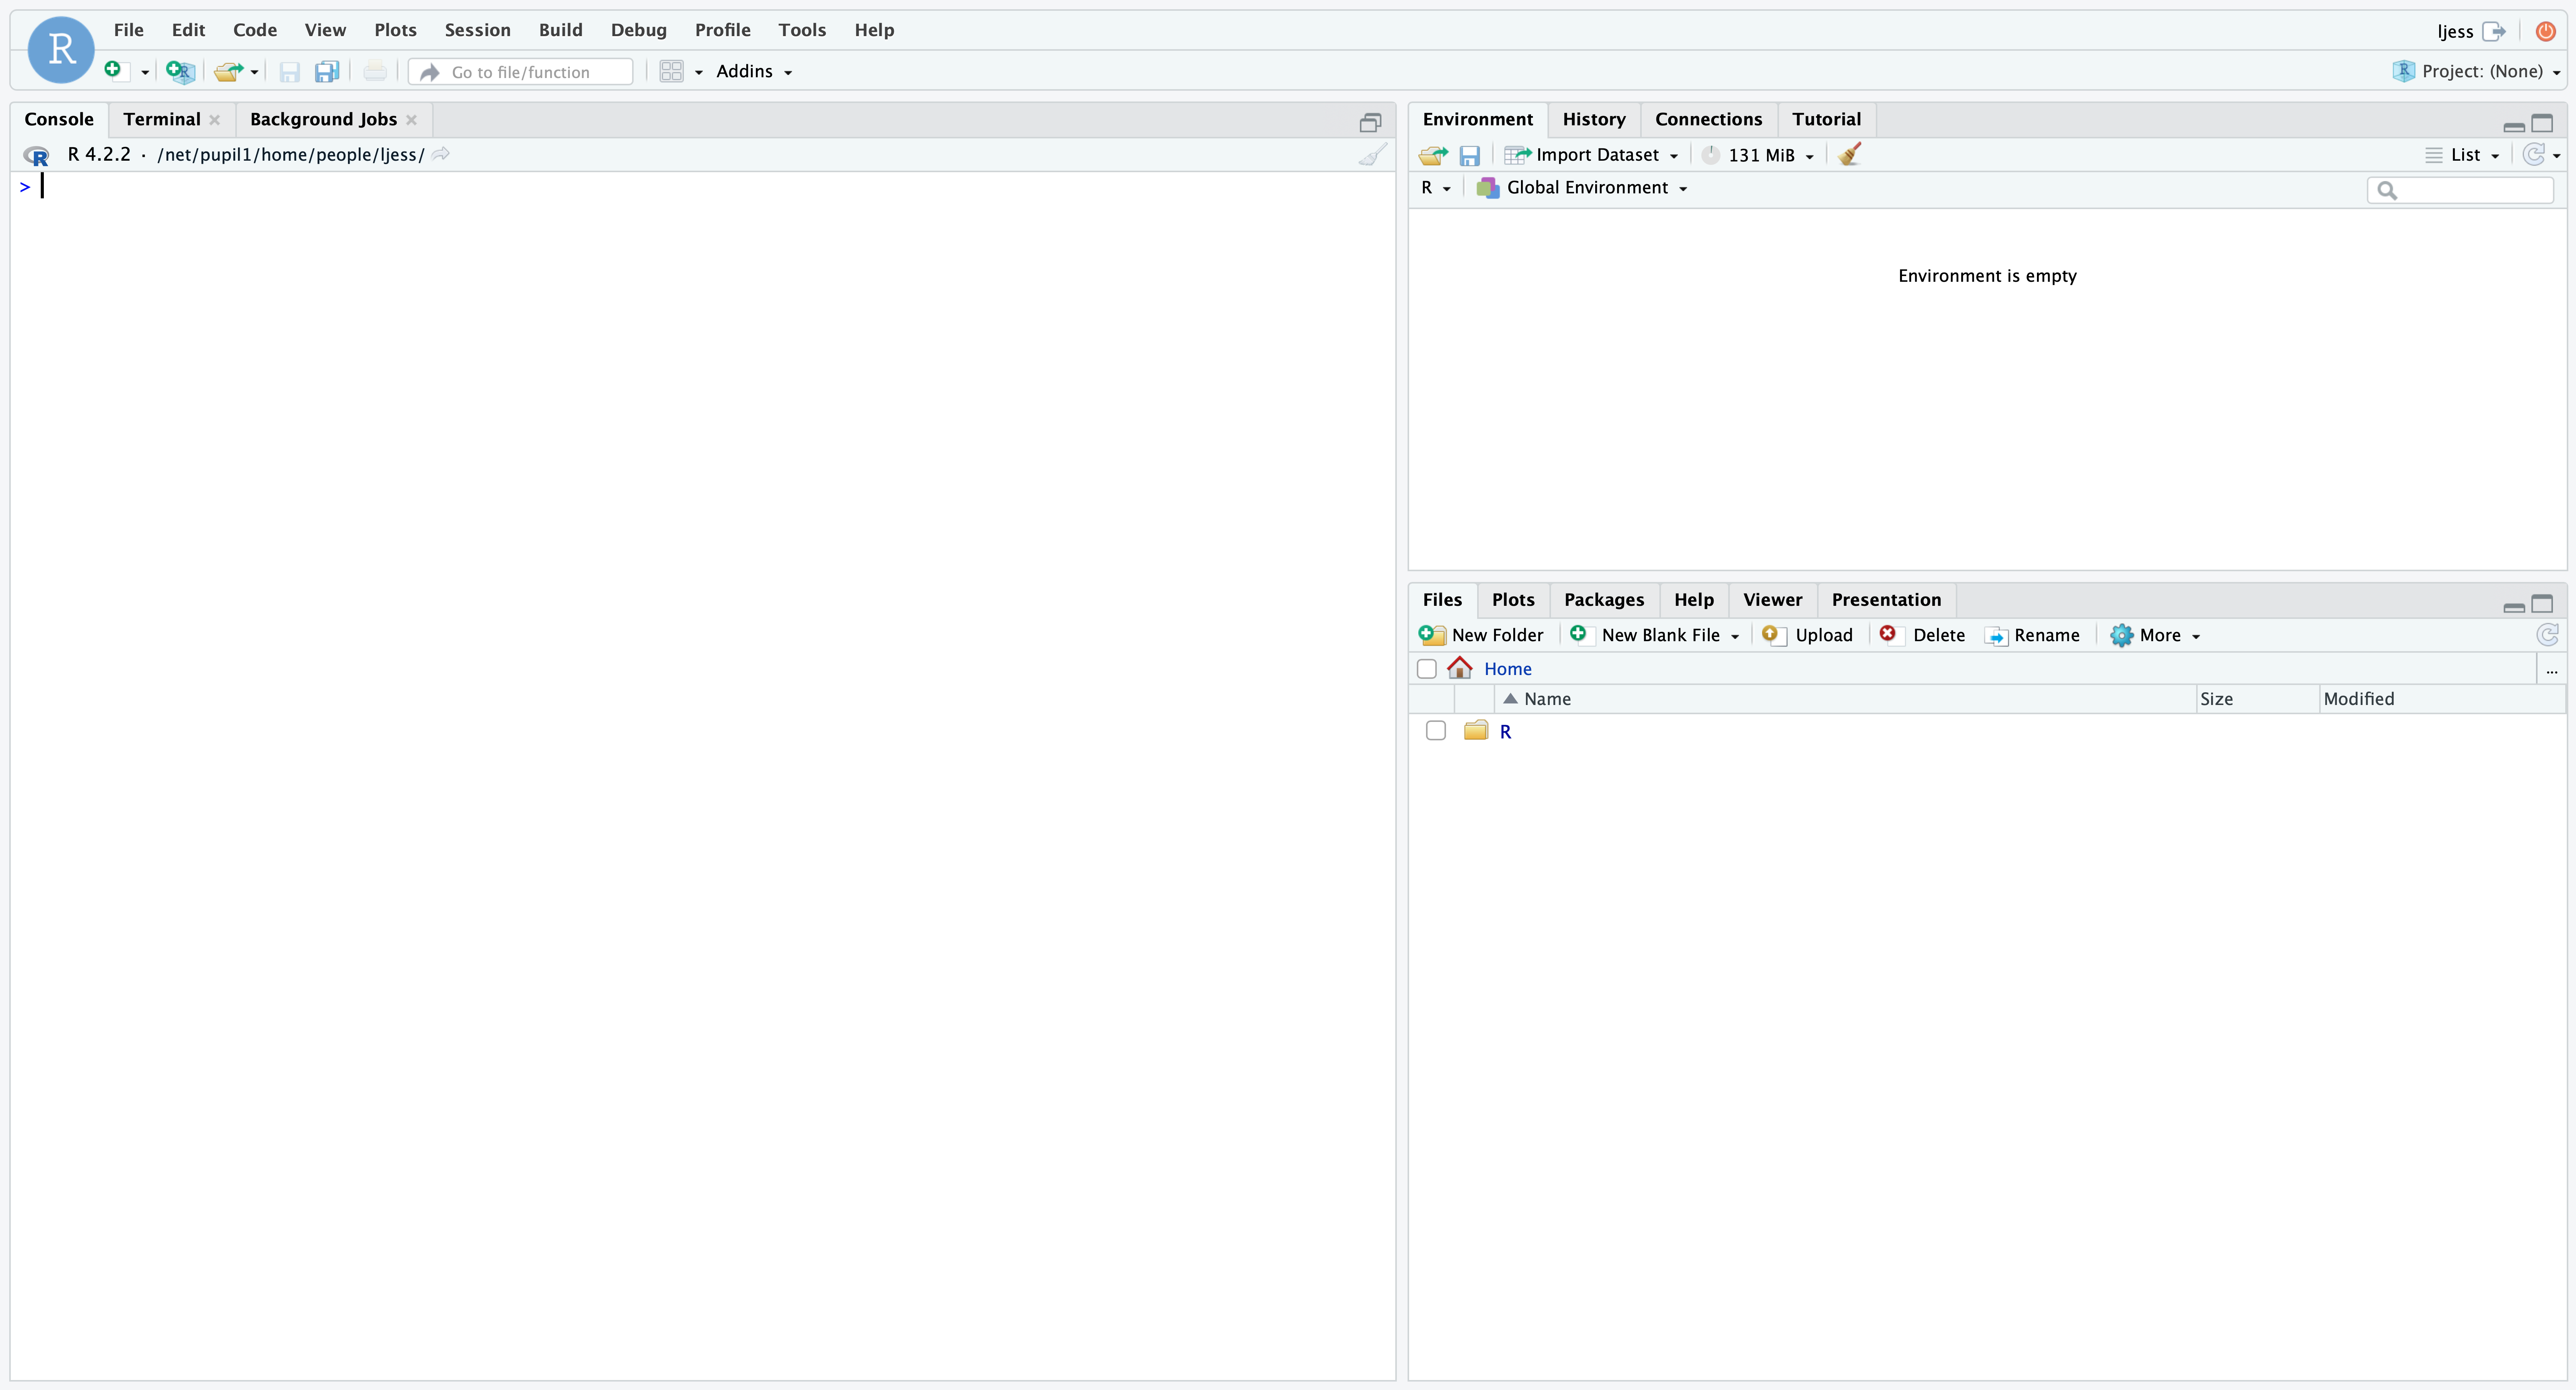
Upon login, you will be presented with the RStudio integrated development environment (IDE) for R:
First, just a quick change of settings to enable graphics. Click Tools \(\rightarrow\) Global Options. Then under General, choose the tab Graphics and under Graphics Device, choose Cairo as your Backend. Then click Apply and finally OK. That was easy right? Now, please continue.
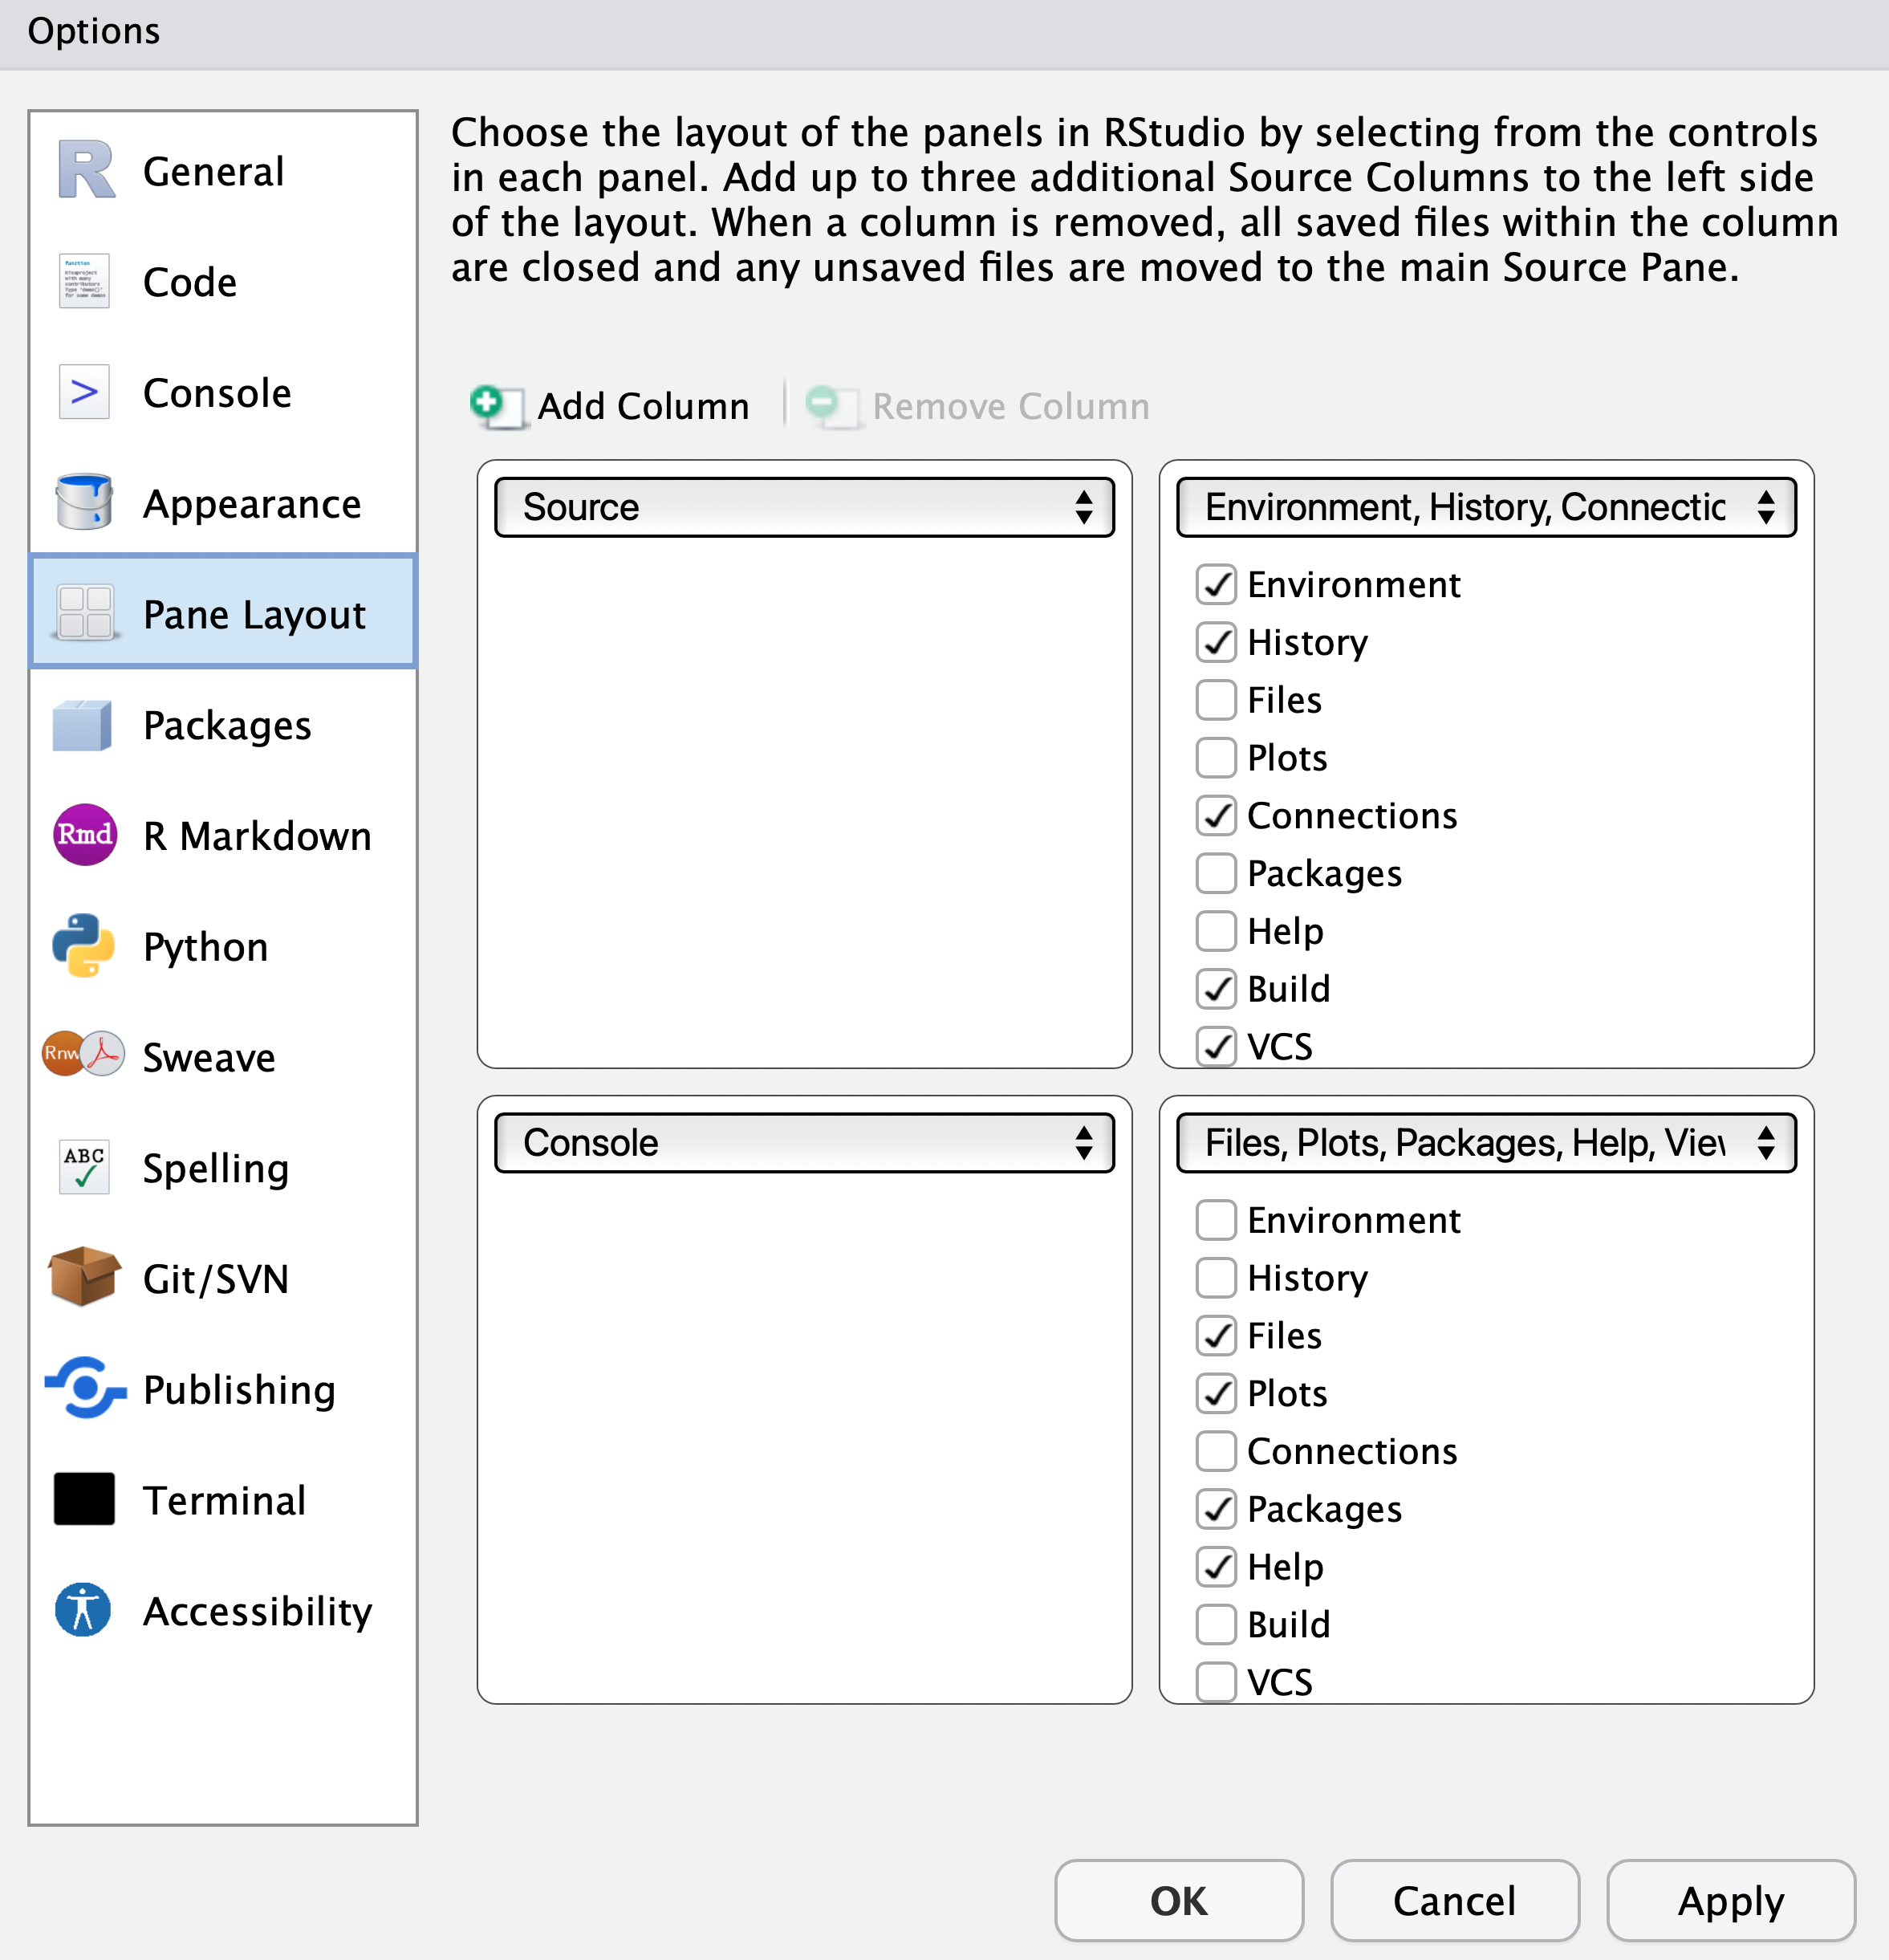
Welcome to the RStudio IDE. It allows you to consolidate all features needed to develop R code for analysis. Now, click Tools \(\rightarrow\) Global Options... \(\rightarrow\) Pane Layout and you will see this:
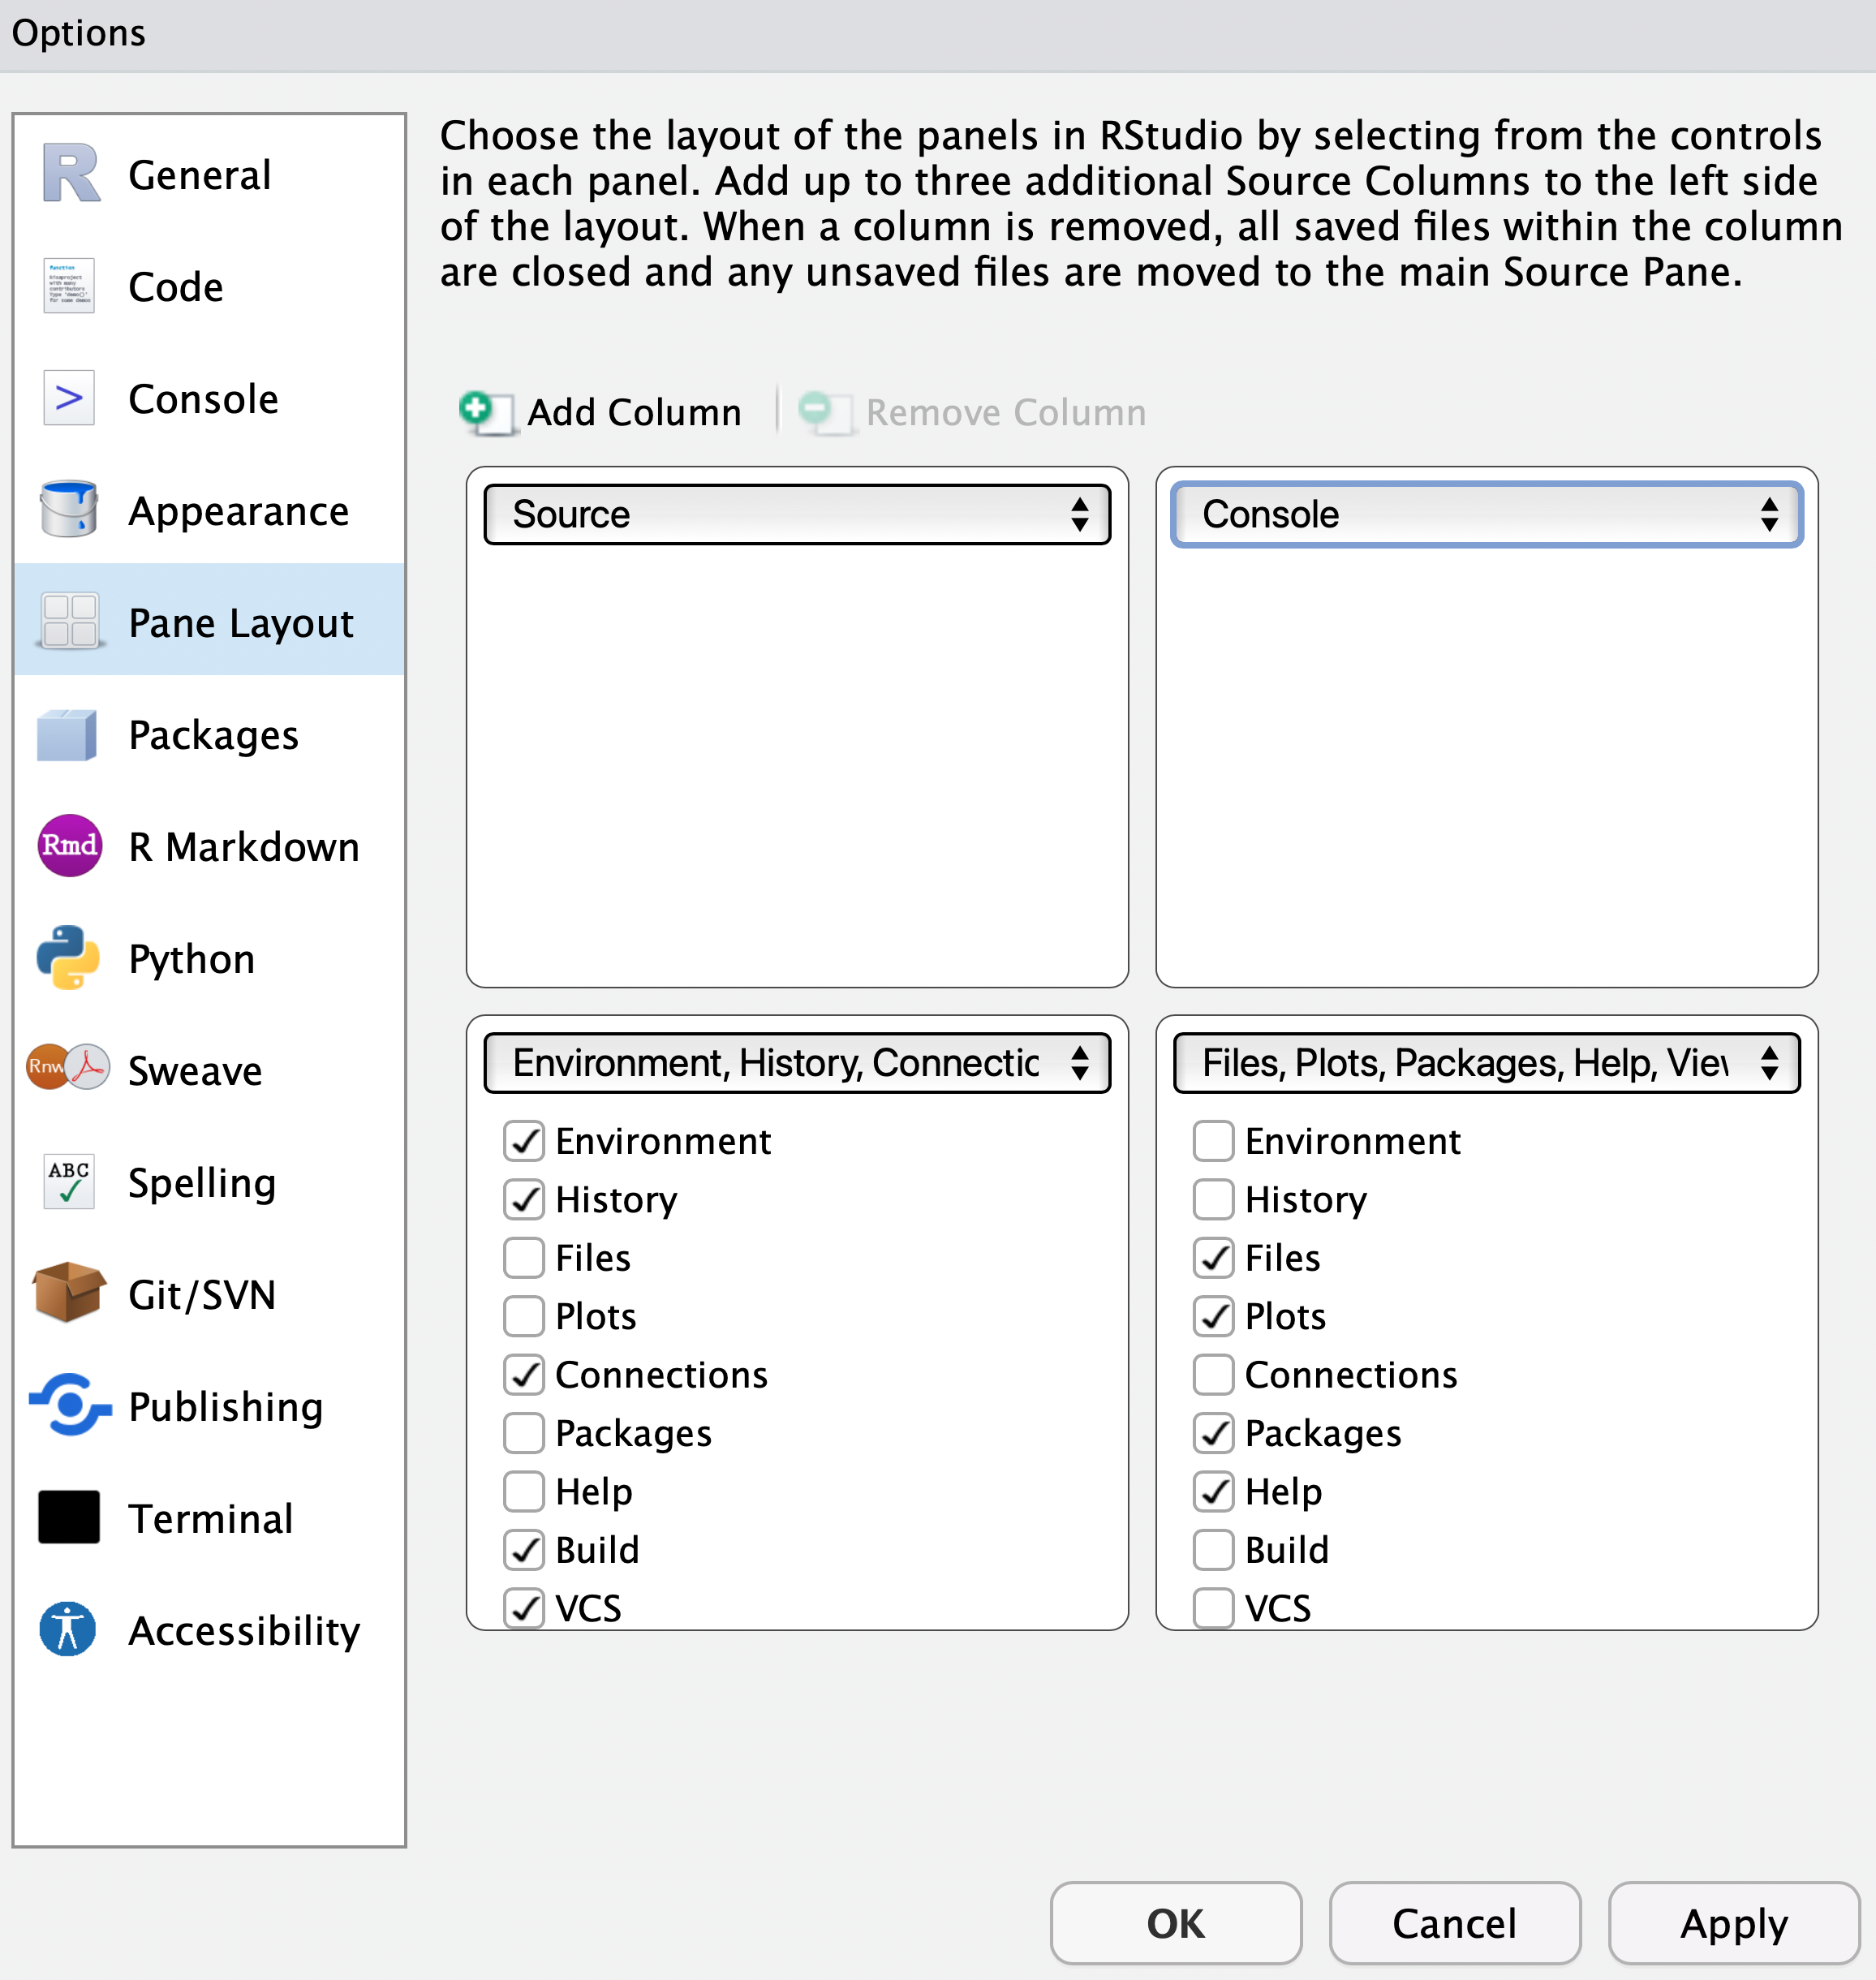
This outlines the four panes you have in your RStudio IDE and allow you rearrange them as you please. Now, re-arrange them, so that they look like this:
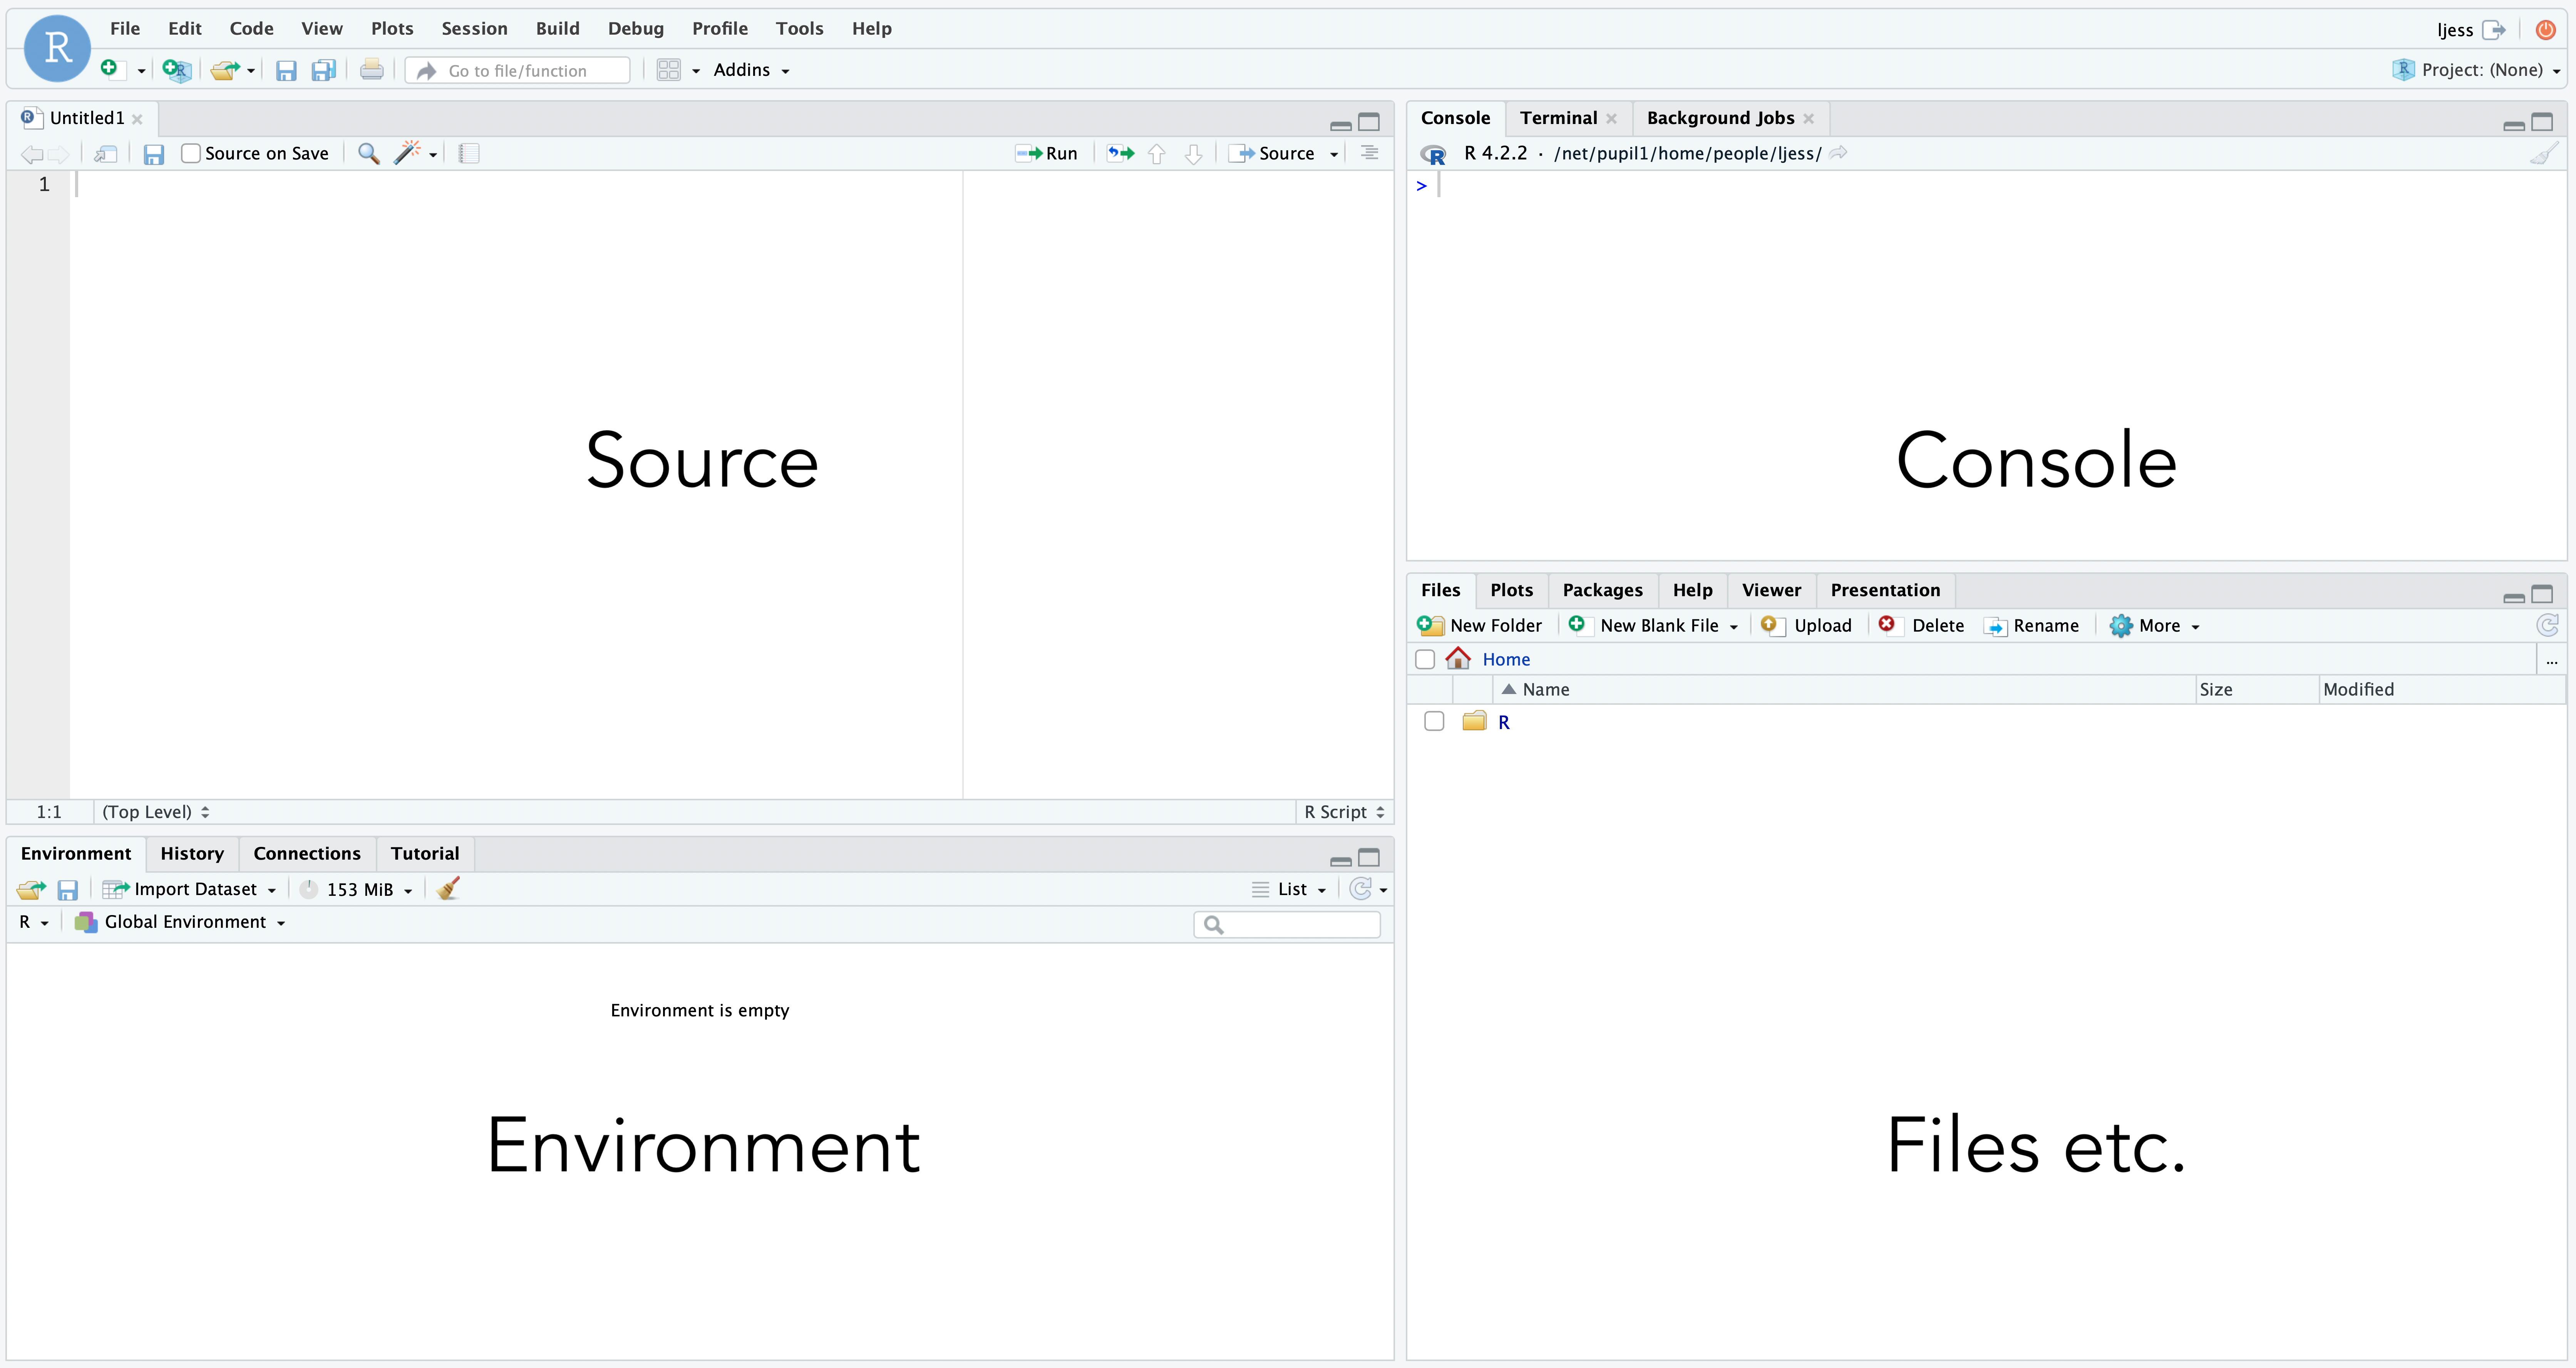
Click Apply \(\rightarrow\) OK and you should see this:
Source
- Where you write and edit scripts (.R files, Quarto, etc.).
- Code written here is not executed until you send it to the Console (e.g., with Ctrl+Enter / Cmd+Enter).
- Used for developing reproducible workflows instead of typing everything directly into the Console.
Console
- Where commands are executed immediately.
- You can test quick snippets of code here.
- It shows results, error messages, and feedback from R in real time.
Environment
- Displays the objects, variables, and data currently loaded into memory.
- Helps you keep track of what is available in your R session.
- You can clear objects or inspect them here.
Files etc. (Files, Plots, Packages, Help, Viewer, etc.)
- A set of utility tabs:
- Files: navigate your working directory, upload/download files.
- Plots: displays plots generated by your code.
- Packages: manage installed R packages.
- Help: access R documentation.
- Viewer/Presentation: view HTML outputs, reports, and apps.